
[Original post by Amanda Visconti. Minor updates in July 2018 to resolve outdated links and media.]
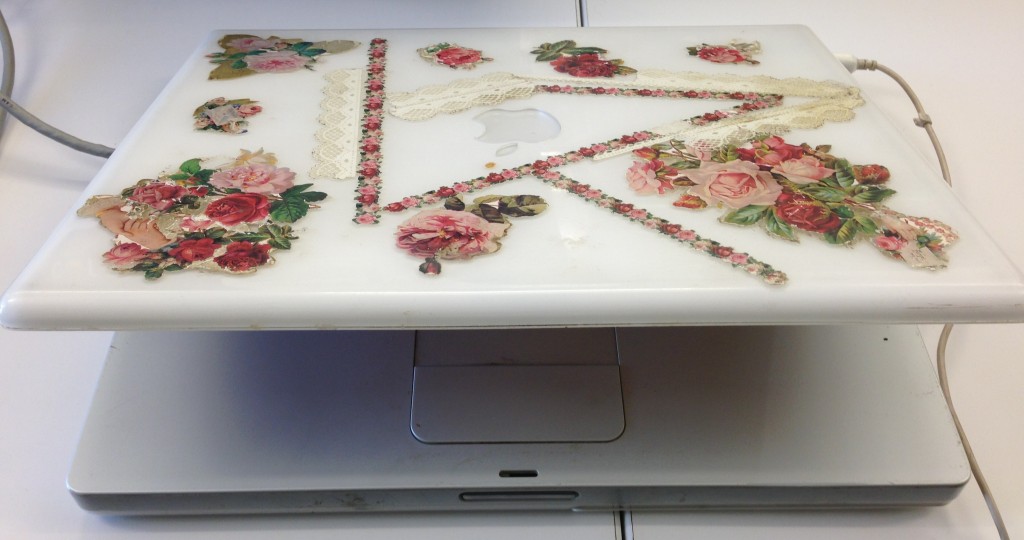
Let’s say a digital beauty like this makes its way into your collection:
BitCurator can aid us in such investigations by freeing Larsen’s laptop data from its storage media (which will fail eventually), capturing important contextual details about Larsen’s original work environment, and helping to ensure the authenticity and integrity of files during forensic processing (see this page on how BitCurator fits into existing archival workflows, or this page on how the individual tools making up the BitCurator suite address particular archival concerns, for more information on what BitCurator can do).
To use BitCurator, we’ll need to figure out how to connect the laptop’s hard drive to the BitCurator environment; this post will explore how you can similarly image your Mac laptop for digital forensic work.
Why is it difficult to image an internal Mac laptop drive?
You can get to work quickly with BitCurator if you’ve got a digital device ready to be connected to your computer: an external hard drive or removed internal hard drive, a floppy disk port, a USB stick, or other devices and the cables to attach them to your host machine.
With a Mac laptop, however, the device isn’t as easy to get at. If it’s a working, explorable laptop, as with Larsen’s, there’s a risk to that working status associated with temporarily physically removing the drive for imaging via a SATA cable—so we’d like to avoid opening the laptop up if possible, and find some other way of imaging the drive.
Imaging the laptop hard drive by connecting one of its exterior ports (e.g. USB) seems like the way to go, but Macs are finicky about showing up as drives on other computers.
If you want to see your Mac laptop as a drive mounted on another computer (and thus be able to image it), you’ll need to set the laptop to something called Target Disk Mode:
Target Disk Mode Steps
- The laptop to be imaged (e.g. our Larsen laptop) should be turned off.
- Hold down the t key and turn the laptop to be imaged on.
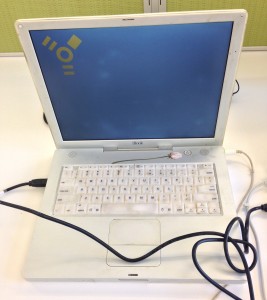
- Continue to hold down the t key until the target disk mode image appears on the screen (see photo example).
- You can now attach the target disk via firewire cable to a machine with BitCurator running in a partition, and the Mac laptop should show up as a connected drive like any other connected device.
Unfortunately, target disk mode can only transfer data over a firewire; using other ports/cables such as USB will not work. This presents three problems:
- Both your laptop and the machine running BitCurator must have firewire ports to allow for the firewire
- You’ll need to be running BitCurator on a partition and not as a virtual machine, as VirtualBox can’t handle firewire input
- If you want to use a hardware write-blocker, it will need to have both firewire input and output
This use case is Mac plus laptop-specific: that is, desktop Macs don’t use the compact unibody design of the laptop, so it’s far easier to open the case and connect the hard drive to a machine running BitCurator (thus there is no need to adopt Target Disk Mode). And non-Mac laptops will show up as image-able drives on other machines automatically, without the special needs of the Mac Target Disk Mode.
Our Choice: Imaging with BitCurator on a Partition
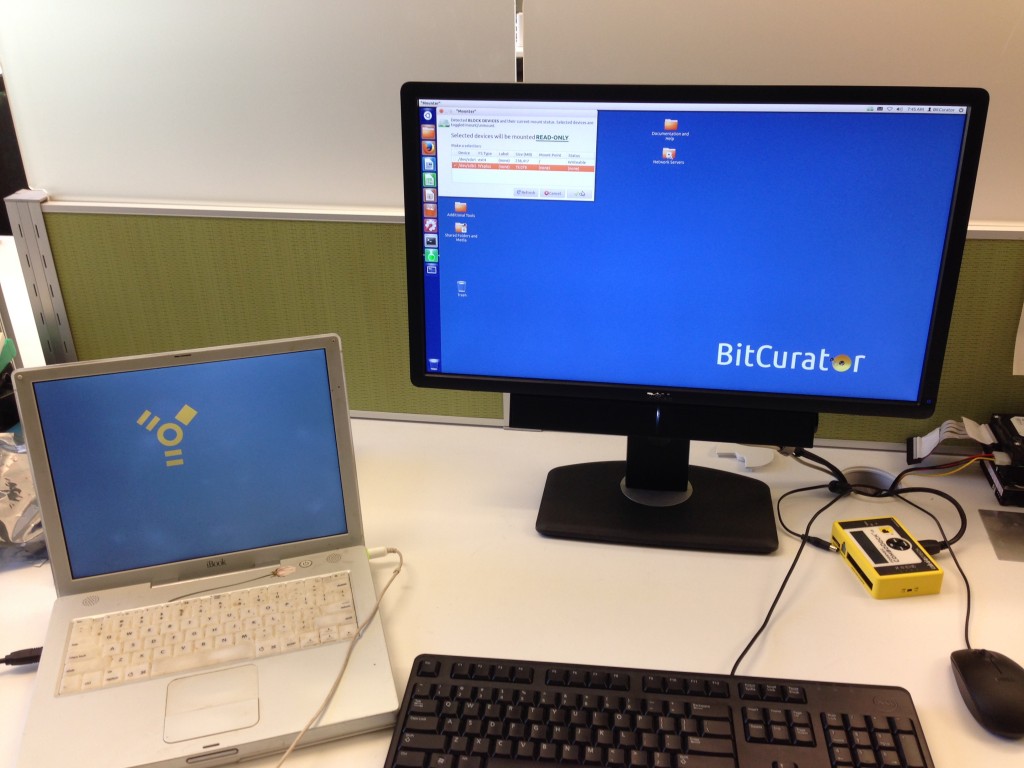
Why? We had the necessary components to let BitCurator recognize the Mac laptop as a drive: a firewire cable, a firewire port on the Larsen Mac, and a firewire port on a PC partitioned with BitCurator.
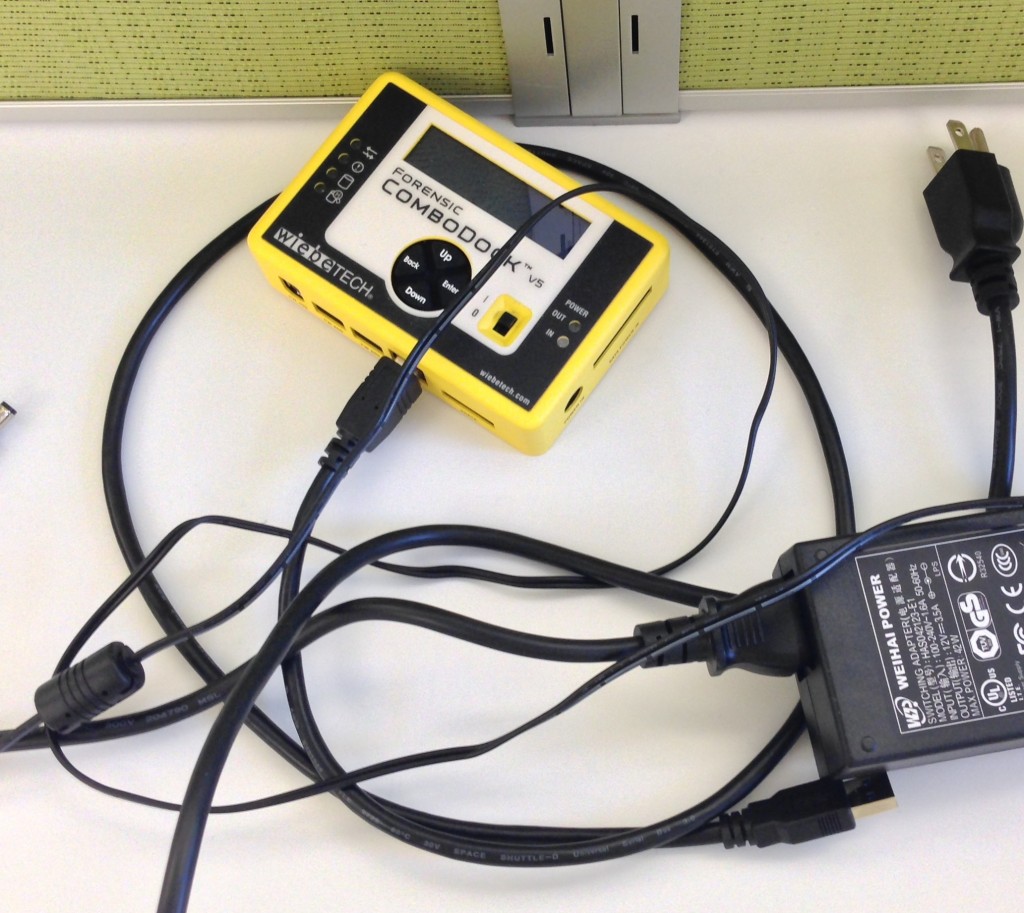
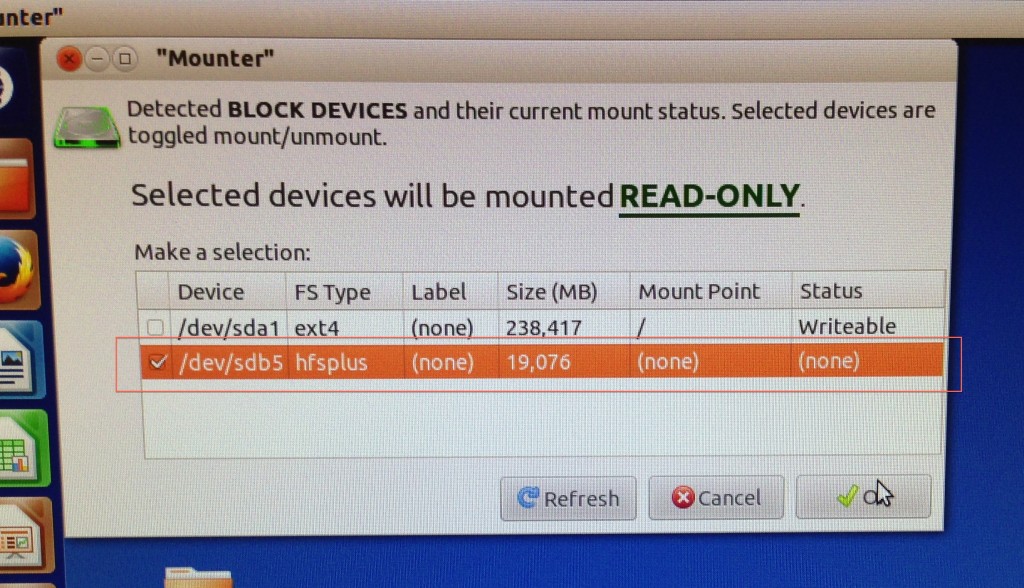
We weren’t able to use our usual hardware write-blocker, as it only takes firewire input but doesn’t output it; BitCurator incorporates a feature that can mount devices safely, however, so we were still able to protect the device from being written back to. Follow these instructions to safely mount devices in BitCurator.
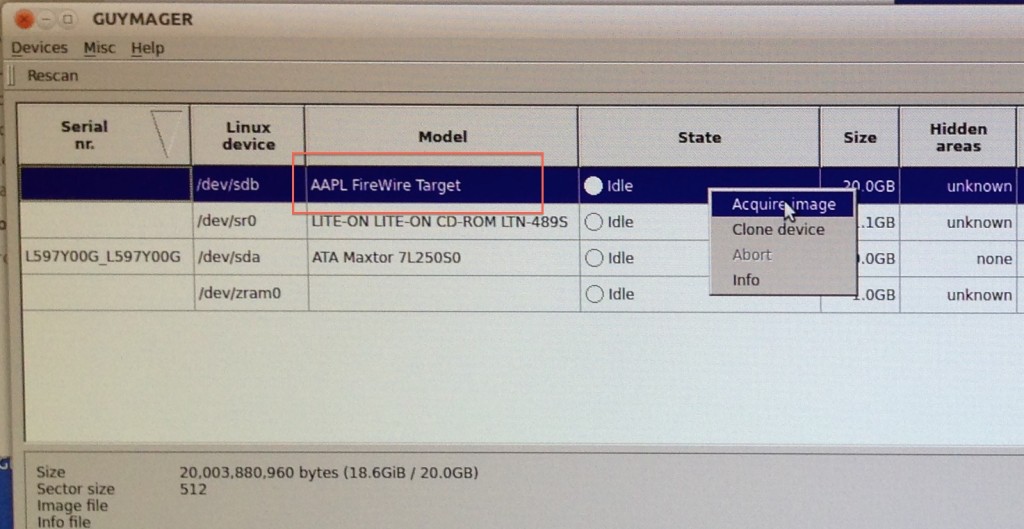
Next, we used BitCurator’s bundled Guymager software to forensically image the laptop (see these instructions or this video for steps to use Guymager yourself.) This produced a forensic image of the laptop, which we’ll be further exploring with BitCurator in a future post.
In another future post, I’ll discuss an alternative approach for those of you who couldn’t follow these instructions (e.g. no firewire port, no BitCurator running on a partition).
Send us your suggestions for other difficult-to-image use cases and we’ll cover them in future posts!
Amanda Visconti is a MITH graduate research assistant on the BitCurator project, where she creates user-friendly technical documentation, develops and designs for the web, and researches software usability. As a Literature Ph.D. candidate, she blogs about her digital humanities work regularly at LiteratureGeek.com.